How To Make Checkering Tools

Pin Em Senjata Api
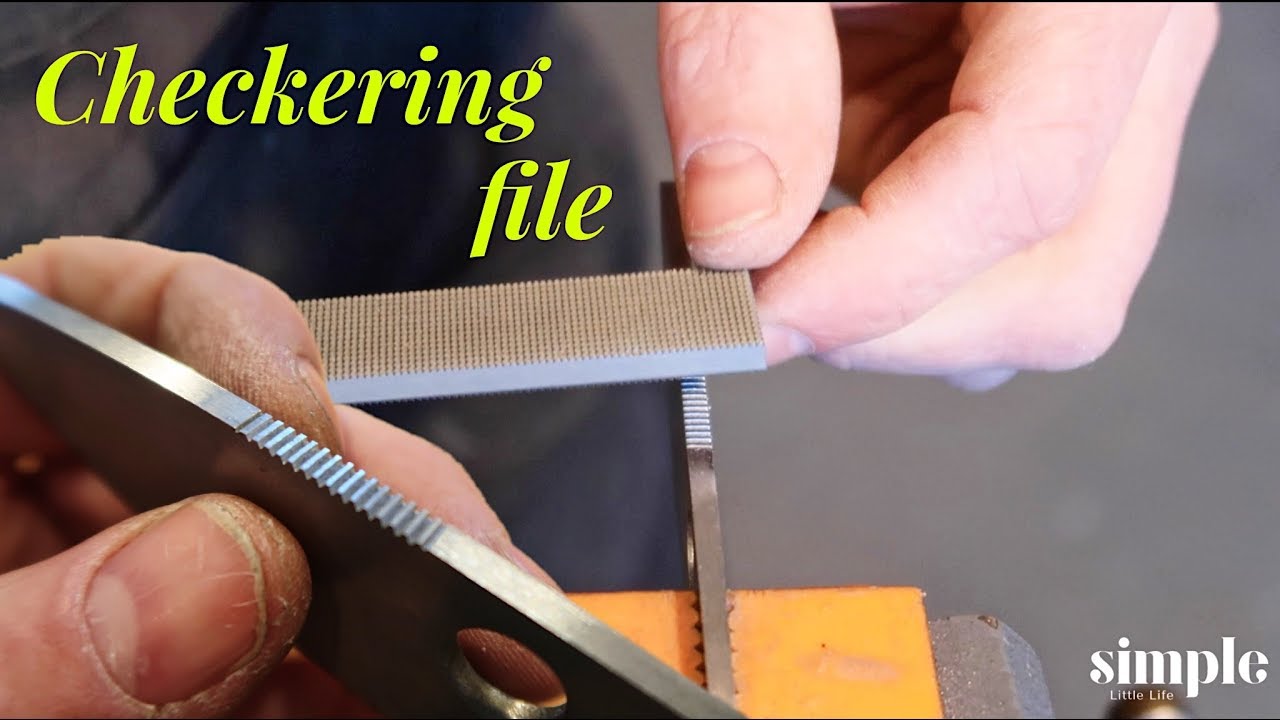
Tool Time Tuesday Checkering File A Great Tool For Knife Making Knife Making Things To Sell Knife

Pin On Checkering Tool

Hand Checkering Tools Question Page 2 Carving Tools Tools Gunsmithing Tools

Pin On Checkering Tool

Pin On Miniaturetools Made By Paul Hamler
The tool is used to complete the repetitious bulk of the checkered panels.
How to make checkering tools. Ramelson is one of the only US-based manufacturers of screwdrivers checkering tools and other gunsmithing supplies. Its best to start the job with a checkering panel pattern cut from a piece of white paper thinner than copy paper is better so a pattern appropriate for the particular stock undergoing surgery can be chosen - with an eye toward overall size and outlineshape. This is the most common type of checkering.
The cutters are attached to the tools shanks with a steel rollpin that slips through a hole in the tool shank and cutter. Watch as Larry Potterfield Founder and CEO of MidwayUSA makes a checkering tool from a length of dril. Once thats done its just a matter of moving across the surface one line at a time with the double-head tool.
Dont try to evenly space your stipple marks. To make the tool you need a small triangular metal file the smaller the better. You will use this one the most.
The single-line cutter is used to lay out the pattern and the master lines - and to deepen the checkering to full depth. Hold the tang with a pair of pliers and heat the forward two inches of the file to a dull red. A four-inch size with as little taper as possible is ideal.
Scribe this then use a single line tool to cut a master line. Next I make the two master lines within the pattern at a 45 degree angle or thereabouts and they are the starting point of the checkering. As you do move the stippling tool around inside the panel in a random manner.
A single-line cutter is indispensable. In the simplest terms checkering is nothing more than two series of parallel lines intersecting at about a 33 angle. The grooves are cut under a 90 degree angle sometimes 60 degree.

Pin On Craftsmen S Work

Pin On Carving

Gunsmithing Tools Woodworking Gunsmithing

Pin On Gunstocks

Pin On Sana

Dembart Master Set Inside Ruzhe Instrument Kartinki

Tutorial Tuesday Chasing And Repousse Hammer Sizing Repousse Metal Engraving Engraving Tools

Pin On Gun Smithing

Pin On Products

Pin On Wood Carving

Dapping And Forming Set 43 Pieces Diy Jewelry Tools Jewelry Making Tools Jewelry Making

Pin On Products

Joalheria Navajo Teaching Jewelry Jewelry Tutorials Jewelry Tools

