How To Prep Exterior Wood Trim For Painting

How To Correctly Prep Exterior Trim For Painting Eco Paint Inc Exterior Trim House Paint Exterior Painting Trim

How To Prepare Wood Trim For A Smooth Paint Job In 2020 House Painting Tips Wood Trim Paint Job

Diy Steps Painting Exterior Wood Siding Tips Eco Paint Inc Wood Siding Exterior Diy Exterior Painting Diy Exterior

How To Prevent Or Fix This Common Painting Mistake Paint Mistakes Painting Trim Wood Trim

How To Paint Beautiful White Trim From A Professional Painter A Well Purposed Woman Painting Trim Painting Trim White Painting Wood Trim

How To Prepare Exterior Walls For Painting Eco Paint Inc House Paint Exterior Exterior Paint Wood Siding Exterior

Remove extra caulk with a putty knife.
How to prep exterior wood trim for painting. Last thing to do is remove any door furniture handles trim that sort of thing that you dont want painted or tape them up. You need to lay the door flat on the floor support it with chairs or lay it on a sawhorse. Buy a dripless caulk gun to save time and frustration.
A putty knife to scrape peeling paint and apply fillers a paint scraper for rough oil-based paint sandpaper or a sanding sponge to smooth out rough spots and dry spackling paste. Priming all bare wood caulking fillers sealing trim allowing primer to properly dry. There are only a few items required to prep wood trim for painting.
Wash Surface Wash the surface of the trim with a TSP solution or a low-phosphate household cleaner. If there are any areas of bare wood on your trim you must prime the surface before painting. Cut the tip smaller than you think you need.
Sand rust from nail heads then set and caulk the nail holes. Painting Wood Siding Photo 1. Attain the truest paint color in the fewest coats.
Once primer has dried trim is ready repainting exterior trim. Feather-sand the edges of sound well-adhered paint down to bare wood. Continue until all side edges of the trim are complete.
Starting at a top corner of the door trim begin painting along the side edge of the trim where it meets the wall. Its important that you use drop cloths to protect the floor and the chairs. Apply a thin bead of paintable acrylic latex caulk only inside the crack where wood meets a wall for a smooth professional appearance.

How To Paint Baseboards And Trim Life On Virginia Street Painting Baseboards Baseboards Painting Trim

How To Prep Repair Paint A Front Door Painted Front Doors Wood Front Doors Painted Exterior Doors

Pin On Hall

Livelovediy How To Paint Trim Painting Trim Diy Home Improvement Home Diy

When It Becomes Time To Paint The Exterior Of Your Home You Are Going To Need To Make A Decision About Which Exterior Paint Top Paintings House Paint Exterior
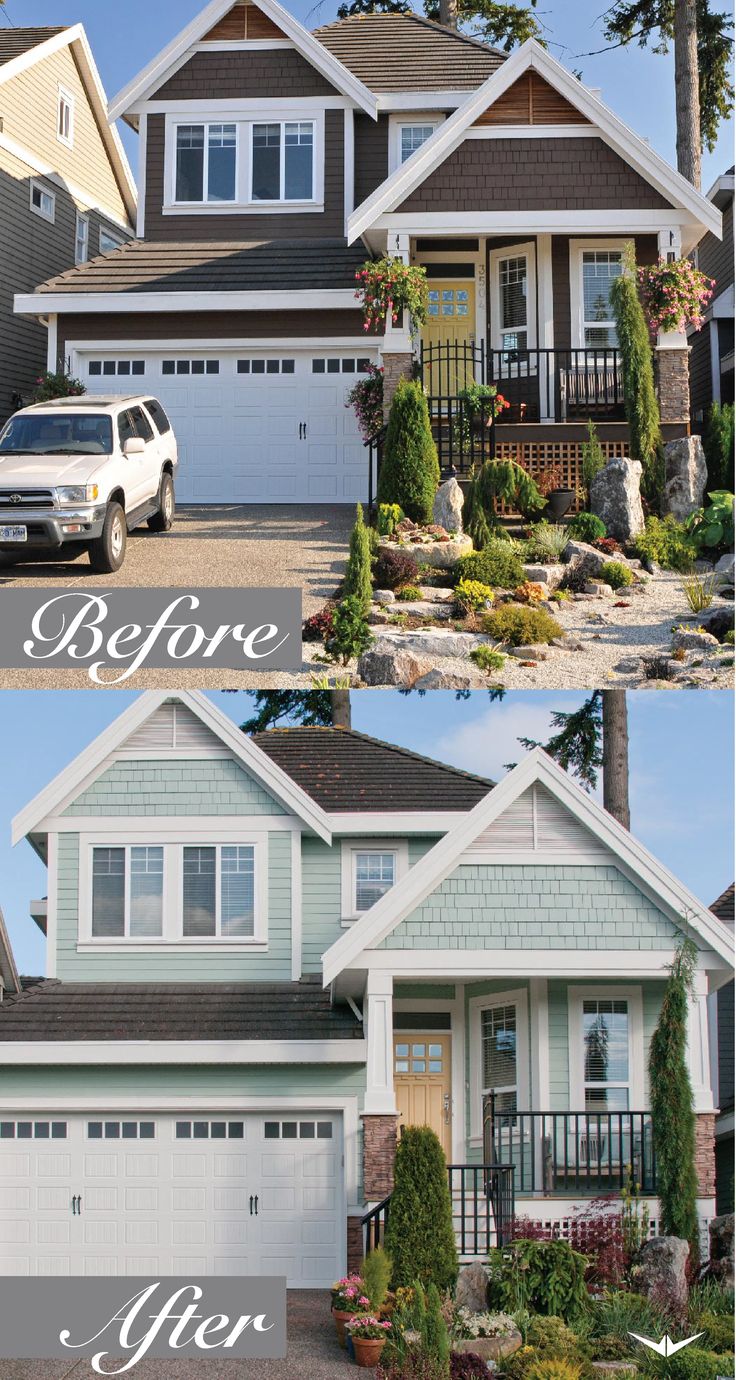
Colour Consultations Warline Painting Ltd Light Blue Exterior House Colors Blue Exterior House Colors Exterior House Colors

How To Paint Over Oil Based Paint Porch Paint Painting Trim Painting Baseboards

Exterior Painting Steps Plan Prep Protect Enjoy Exterior Paint Step By Step Painting How To Plan

Painting Tips And Tricks Painting Tips Painting Trim Paint Brush Sizes

Dark Gray Exterior House Shade With White Trim The Mix Of Blue As Well As White Outside Shad Exterior House Colors House Exterior House Paint Exterior

How To Paint Aluminum Siding With A Roller And Sprayer Diy Exterior House Painting Aluminum Siding Brick House Siding

Pin On Home

Pin On Super Clean Painting
