How To Prepare Stained And Varnished Wood For Painting

How To Paint Over Stained Varnish Wood Without Sanding Youtube

Tips For Using Water Based Varnish Staining Wood Woodworking Woodworking Projects

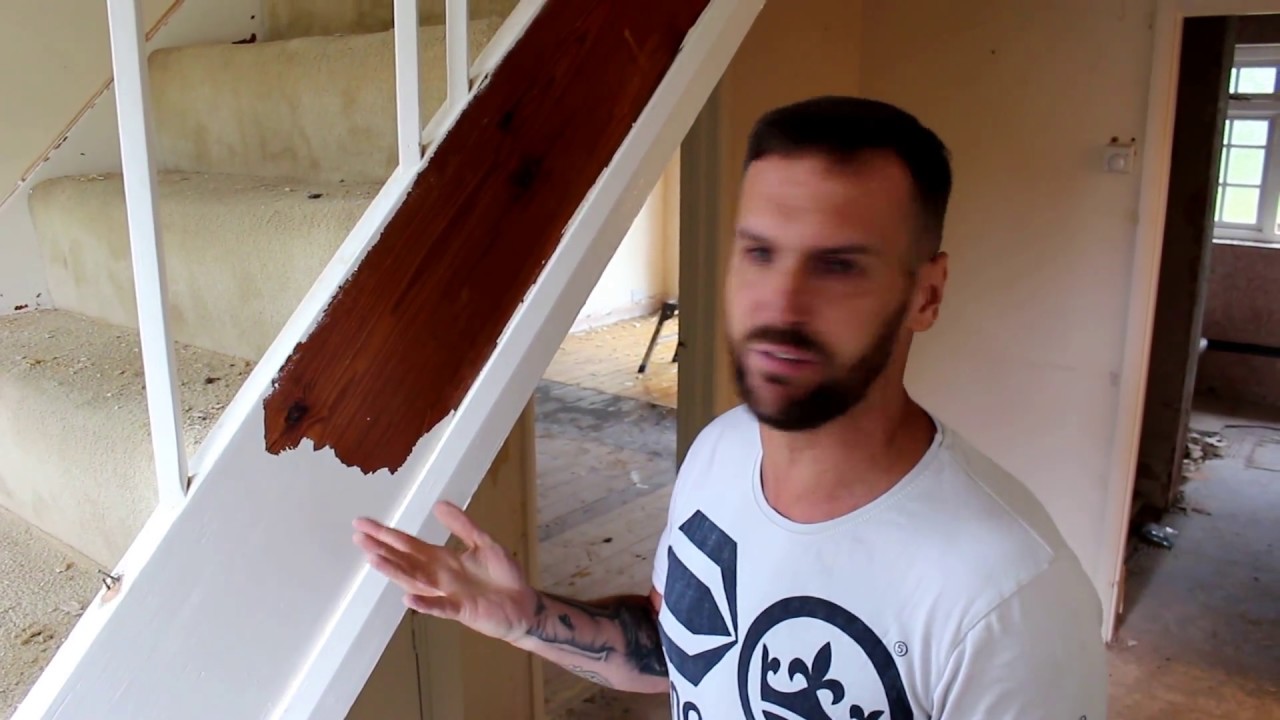
How To Paint Over Stain Varnish Surface No Sanding Youtube

How To Paint Over Varnish Polyurethane Seals And More Without Sandin Latex Agent

How To Paint A Stained Door Peak Pro Painting Denver Colorado Youtube

How To Varnish An Acrylic Painting With An Isolation Coat Acrylic Painting Acrylic Paint On Wood Acrylic
But the easiest way to remove that shiny top coat of lacquer or varnish is to rough it up with some sandpaper.
How to prepare stained and varnished wood for painting. Unlike oil paints they wont yellow over time and resist cracking blistering and peeling. 4 Prepare the cupboard surfaces for painting. For a smoother finish you could try 240-grit sandpaper.
Then follow these general preparatory steps for painting over stain. Sand the furniture using 180-grit sandpaper. Apply it evenly across both sides and around all edges using a good quality brush.
Step 1 Sand the stained or varnished furniture using 220-grit sandpaper. Sanding is especially important if you plan to stain the wood a different color instead of painting it. Two methods enable varnished surfaces to accept paint sanding or deglossing.
The varnish is not water-proof so avoid extending the interaction time between the wood and wet rag. These fast-drying paints form a tough protective shell that allows you to wipe off greasy stains with soapy water. Paint on your top coat in the same manner as the sealer using fairly long brush strokes.
Apply the putty filler with a scraper or a putty knife like the knife from Titan tools or Warner so that it is applied thoroughly and evenly. First clean the stained surface with soapy water to remove any dust dirt and cobwebs. Protect Surfaces With Painters Tape Cover the surfaces you dont plan to paint with painters tape.
Remove the damp cloth immediately after you cleaned the varnished wood. Generally paint doesnt adhere to the slippery surface of varnished wood thats why sanding is required. Next to dull the stain.

Painting Stained Trim Modern Look Sells Homes Quicker Brad The Painter

How To Paint Over Stained Wood Youtube

How To Paint Over Varnished Wood Woodwork Made Easy

Simple Ways To Prepare Wood For Staining 13 Steps With Pictures
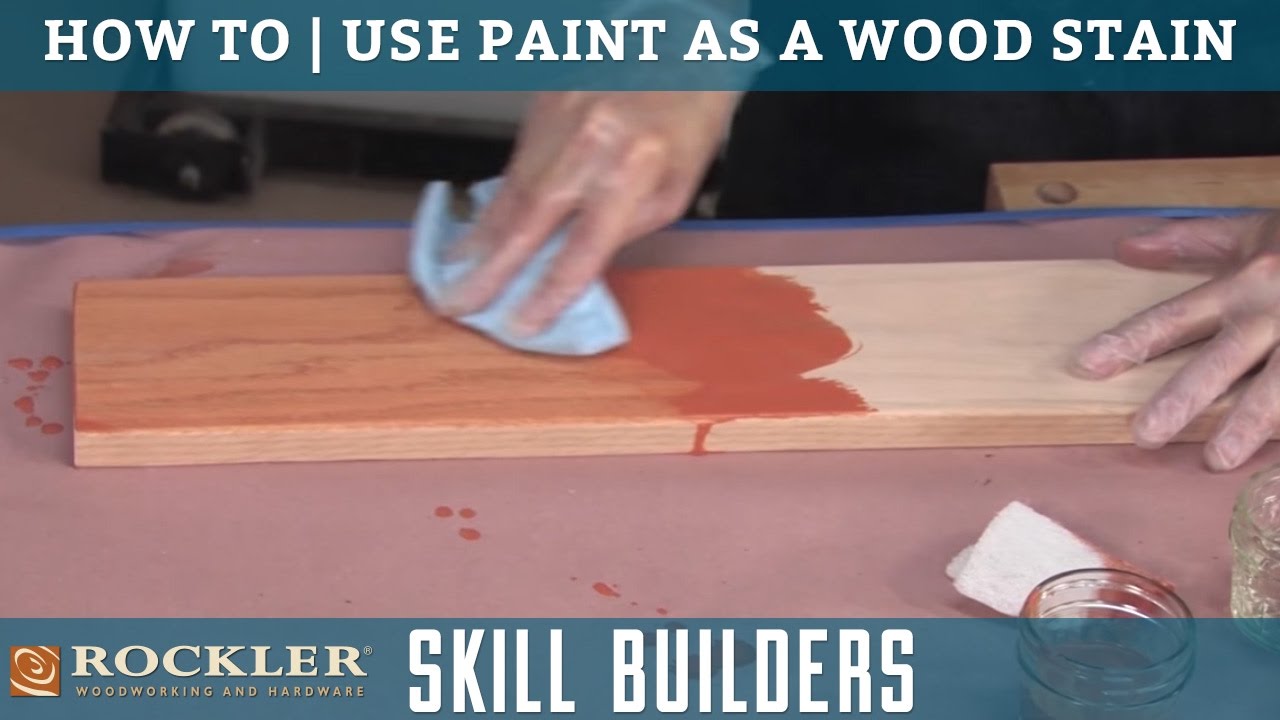
How To Use Paint As A Wood Stain Rockler Skill Builders Youtube

What Is Sanding Sealer When Is It Used Cool Woodworking Projects Sanding Woodworking Finishes

Pin On Home Improvements

The Finish On This Beautiful Table Was Created Using A Three Step Wood Finishing Process First Mark Jupi Diy Furniture Projects Diy Woodworking Staining Wood

Brace Yourself You Re About To Meet The Trending Product Of The Week That Will Elevate Diy Furniture Restoration Restore Wood Furniture Furniture Restoration

Berger Ipaint Enamel Paint Kit Paint Kit Enamel Paint Diy

Pin On Decorative Art

Ebony Old Village Gel Stain Varnish In One It S Goof Proof Just Wipe It On And Let It Dry Easy Peazy Gel Stain Stain Village

Satin Varnish By Wise Owl Paint Wise Owl Paint Wise Owl Vintage Furniture