How To Sculpt In Maya
Maya Relaxing And Smoothing With The Sculpt Polygon Tool Polygon 3d Tutorial Maya

Creature Modeling Sculpting Techniques With Autodesk Mudbox Character Modeling Sculpting Digital Sculpture

Sculpting Nhair In Maya Mudbox 2013 Sculpting Maya 3d Tutorial
Pin By Raul Gomez On Maya Tutorials Tutorial Geometry Maya

Autodesk Maya Easy Terrain Creation Script Maya Modeling Maya Autodesk

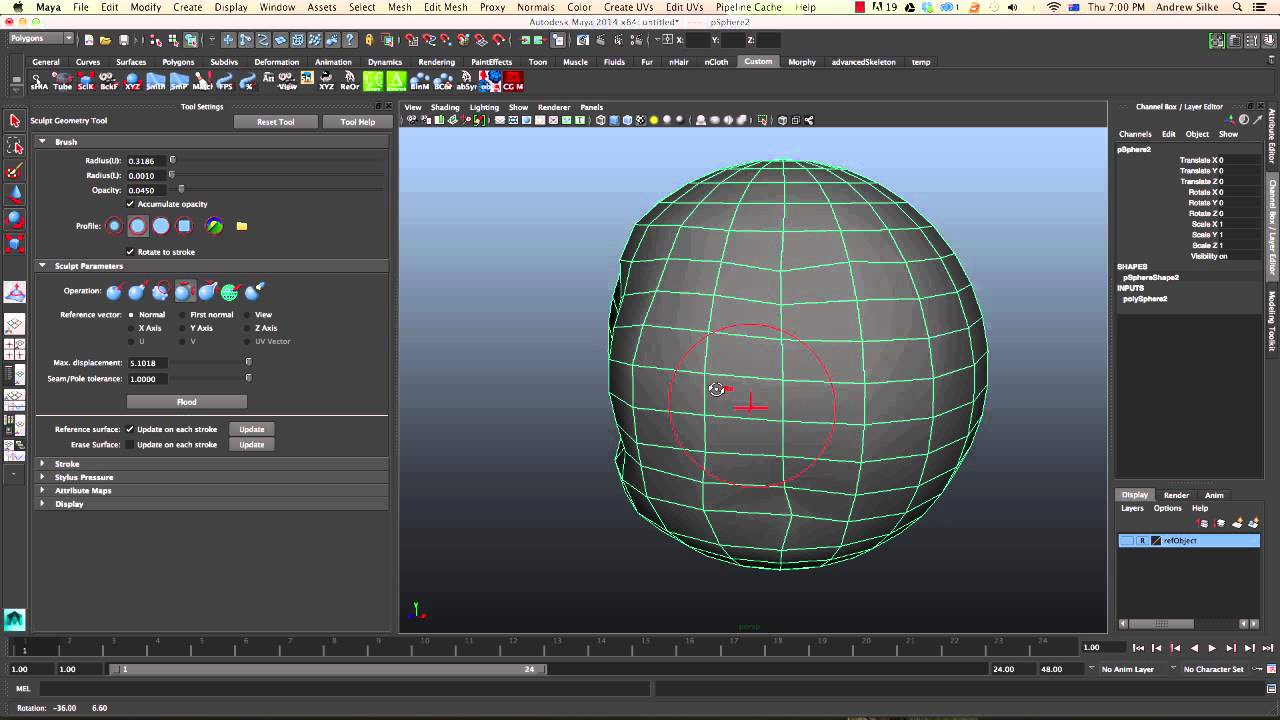
Maya 2014 Quickly Create Terrain With The Sculpt Geometry Tool Tutorial

The sculpt geometry tool is like a paint brush that allows you to paint the surface of an object in 3D.
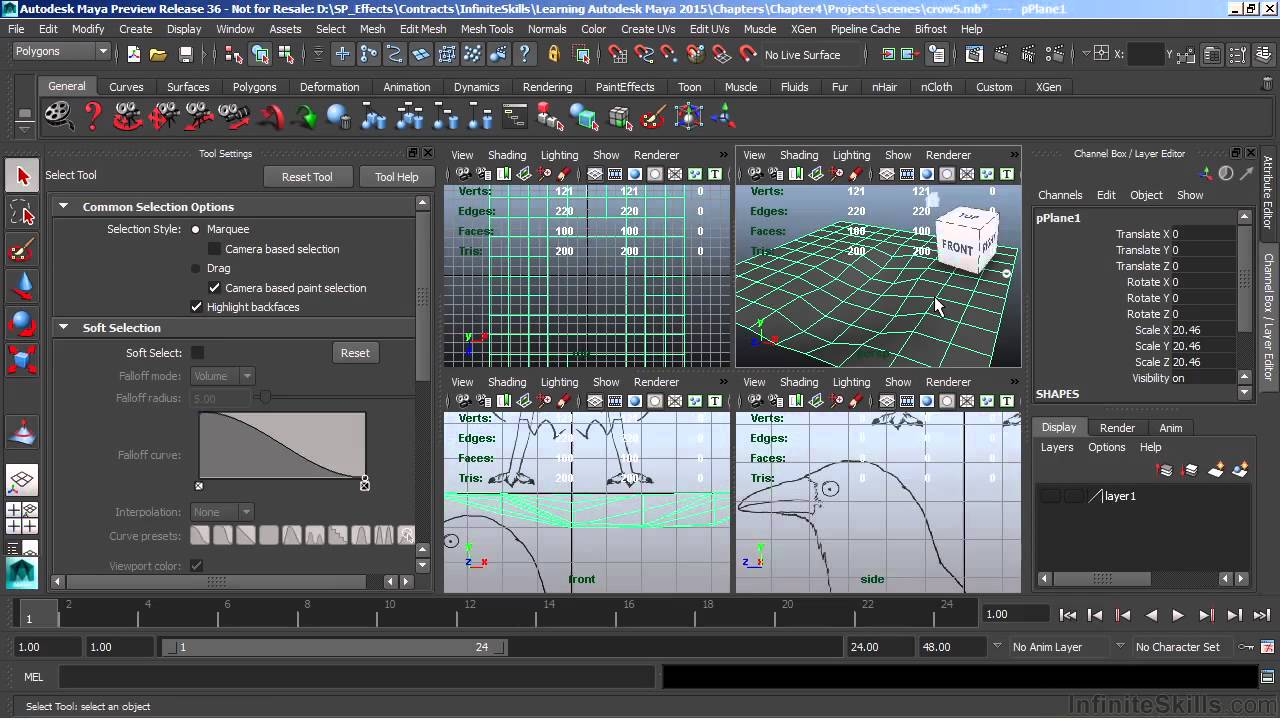
How to sculpt in maya. However you can still sculpt using a standard. Select the object and use the tools on the sculpting shelf. I have horrible audio i know took this vid in one take aint out here tryina be cute about anything so if you want to know how to do something in 3D ill do.
Youll need a smoothed version of your object and keep an unsmoothed hidden backup in the scene. Youll learn about the sculpting tools and how you can add subtract and smooth your meshes. It is best used for creating terrains and other organic geometry.
This option is only available when the Pinch of Slide sculpting. The Brush strength value ranges from 1 to 100. Youll also learn to use Remesh and Retopologize on sculpted models and Booleans to automatically create optimized clean topology.
The higher the value entered the more influence the tool has on each brush stroke. In your scene select a single mesh or multiple meshes. Instead of using clay the virtual 3D surfaces are constructed using polygons.
Select Mesh Tools Sculpting Tools and click beside any of the tools. Use Sculpt tools to quickly create mesh features details. 25 rows Open the Sculpting Tools Marking Menu.
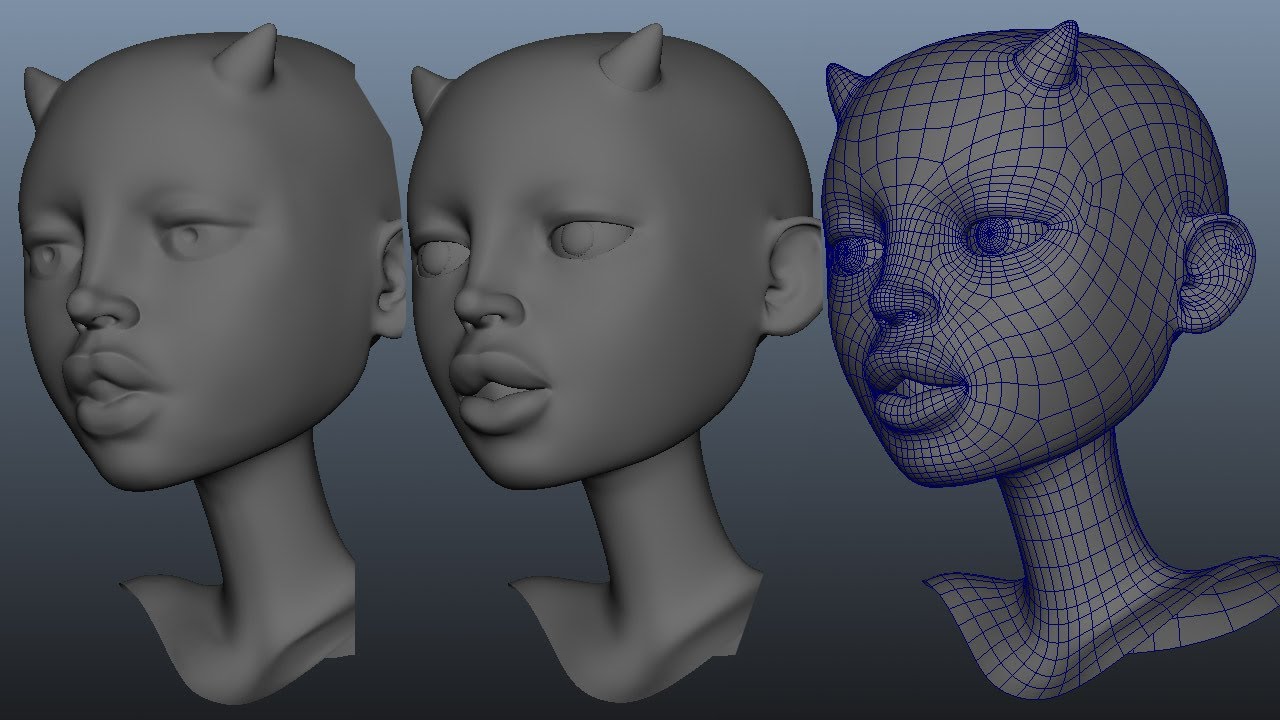
In this software tutorial you will learn how to sculpt geometry using the sculpt geometry tool in Maya. Making ornament shape on the gun using alpha Retopo and UV. This short video gives you an overview of the new native sculpting toolset in Maya 2016 with brushes that feature volume and surface falloff stamp images.

Rock Modeling Tutorial Which Features The Usage Of Maya 3dcoat Mudbox Xnormal Crazybump Cryengine 3d Modeling Tutorial Modeling Techniques Zbrush Tutorial


Maya Zbrush High To Low Poly Baking Tutorial Youtube Zbrush Low Poly Tutorial

Maya Bifrost For Modeling And Sculpting Face Topology Sculpting Maya
Youtube 3d Maya Maya 3d Tutorial

Autodesk Maya Tutorial Modeling A Stylized Character Easy Part 1 Maya Modeling Tutorial Maya


Character Modeling Lesson 17 Head Character Modeling Cartoon Head Maya

Maya Tutorial Pose A Character Sculpt Maya Tutorial Zbrush Tutorial
Retopology With Zremesher And Maya Modelling Toolkit Maya Modeling Character Design Tips 3d Character
Pose In Maya And Sculpt In Z Brush Workflow Tutorial Zbrush Referensi
Rapid Character Workflow Zbrush Maya Zbrush Simple Cartoon Characters Simple Cartoon

Create Girl 3d Character Part 07 Skirt With Curve In Maya Tutorials 3d Character Character Cool Cartoons

