How To Use A Wood Burning Tool For Beginners
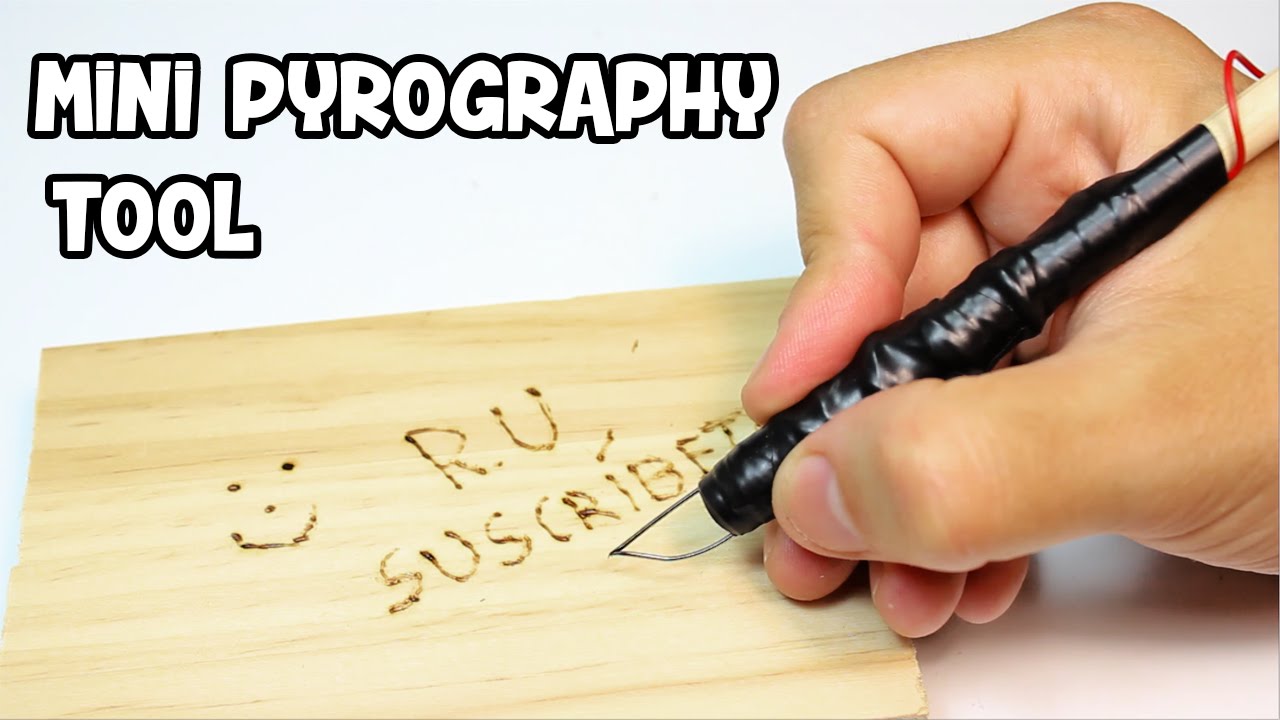
How To Make A Mini Pyrography Pen Woodburning Tool Youtube Wood Burning Tool Wood Diy How To Antique Wood

Wood Burning Tips Wood Burning Crafts Wood Burning Patterns

How To Get Started With Wood Burning And Beginner Project Ideas In 2020 Beginner Wood Burning Projects Wood Burning Tool Woodburning Projects

Woodburning Tips Techniques For Beginners Carpentry Wood Burning Tips Wood Burning Crafts Wood Burning Art

How To Wood Burn Letters For Beginners Pyrocrafters Wood Burning Techniques Wood Carving For Beginners Wood Burning Tool

Wood Burning Ultimate Guide For Beginners Wood Burning Crafts Wood Burning Patterns Stencil Beginner Wood Burning

The tips screw in to the end.
How to use a wood burning tool for beginners. Make sure you read the instructions on your wood burning tool carefully before beginning. Use the full side of the pen for a calligraphy style effect. The basic wood-burning tool comes with 4 tips the flow point cone point shading point and the universal point.
Once your tool is heated begin burning. Write Clearly and Concisely Grammarly. This tool gets hot so be careful and use all of the recommended precautions.
Beginner Strokes to Try Create a fine line controlled with the point of the pen. The hotter your tool is the faster and darker the wood will burn. A word of advice be careful screwing these in and out when the burner.
The more pressure the darker your lines or shading will be. There are many things you can create with the four basic tips. Itll then have to be heated up again for a few minutes.
If the size of the file is larger than an 85 x 11 sheet I print out all sections of the file and tape them together to create a template. Wood Burning for Beginners by Pyrocrafters - YouTube. Be sure to let the tool cool down for 5 minutes before changing out tips.
The main 3 that you should focus on for now are pressure speed and heat. The slower you drag your wood burning tool across the wood the longer it will be in contact with each area and therefore the darker the mark. Shade with light circular motions with your pen using more of the side of your tool.

Learn To Burn A Step By Step Guide To Getting Started In Pyrography Wood Carving For Beginners Wood Burning Techniques Pyrography

Diy Wood Burning How To Tips Project Patterns Wood Burning Techniques Wood Burning Crafts Wood Burning Stencils

Beginners Guide Book On Pyrography In 2020 Wood Burning Techniques Beginner Wood Burning Wood Burning Stencils

Pin On Craft Ideas

Pin On Crafts Tips And Diy

Wood Burning 101 Pyrography Letters Signs For The Garden Wood Burning Wood Burning Crafts Pyrography

Pin On Wood Burning Ideas For Beginners
Pin On Chander Tool Tips

Pyrography Tools For Beginners Pyrography Tools Easy Woodworking Projects Wood Burning Crafts

82 Wood Burning Kit Wood Burning Tool Supplies Leather Craft Etsy Wood Burning Kits Wood Burning Tool Leather Craft Tools

Pyrography Wood Burning Crafts Wood Burning Tool Wood Burning Patterns

Burn Baby Burn Wood Burning 101 Wood Burning Crafts Woodburning Diy Wood Burning Art

Paid Link Wood Burning Ideas Is Such A Versatile Craft Once You Know The Basics Of Pyrography Y In 2021 Wood Burning Patterns Wood Burn Designs Wood Burning Crafts

